
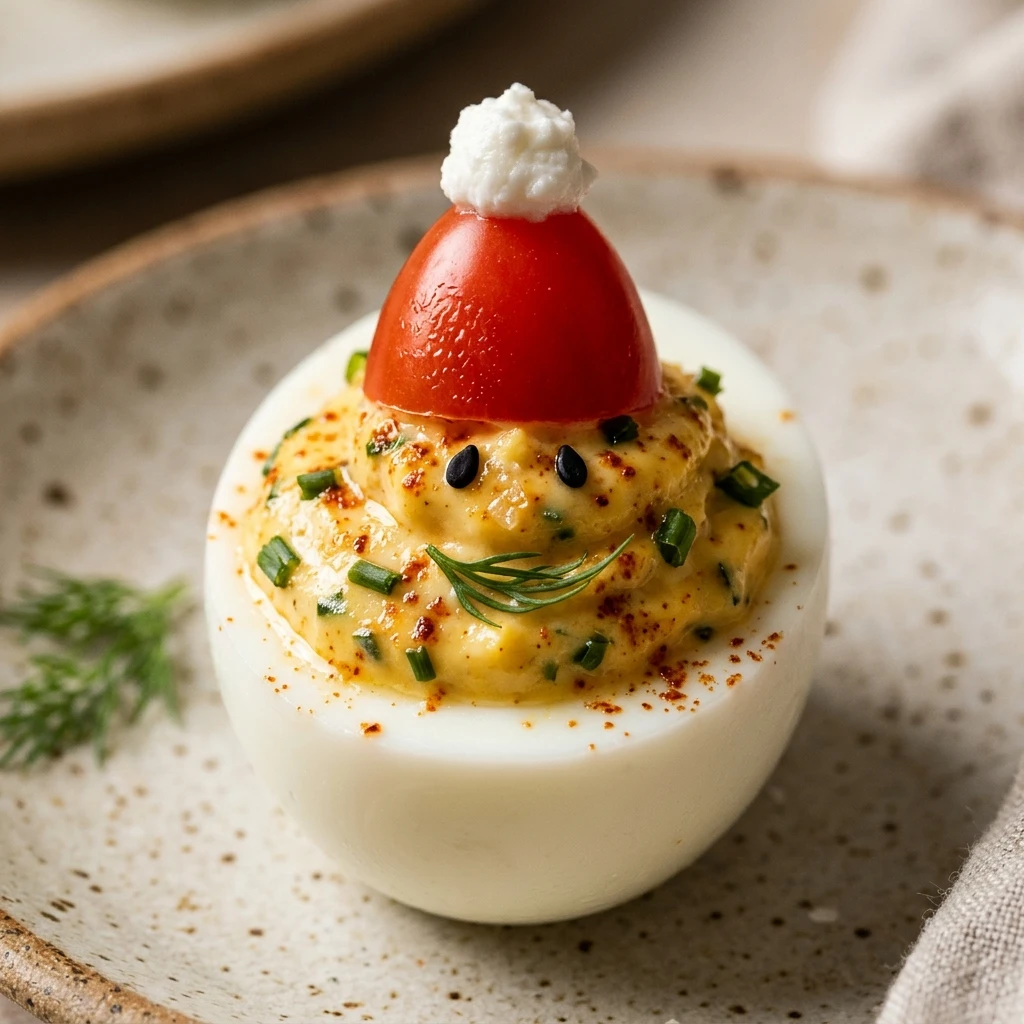
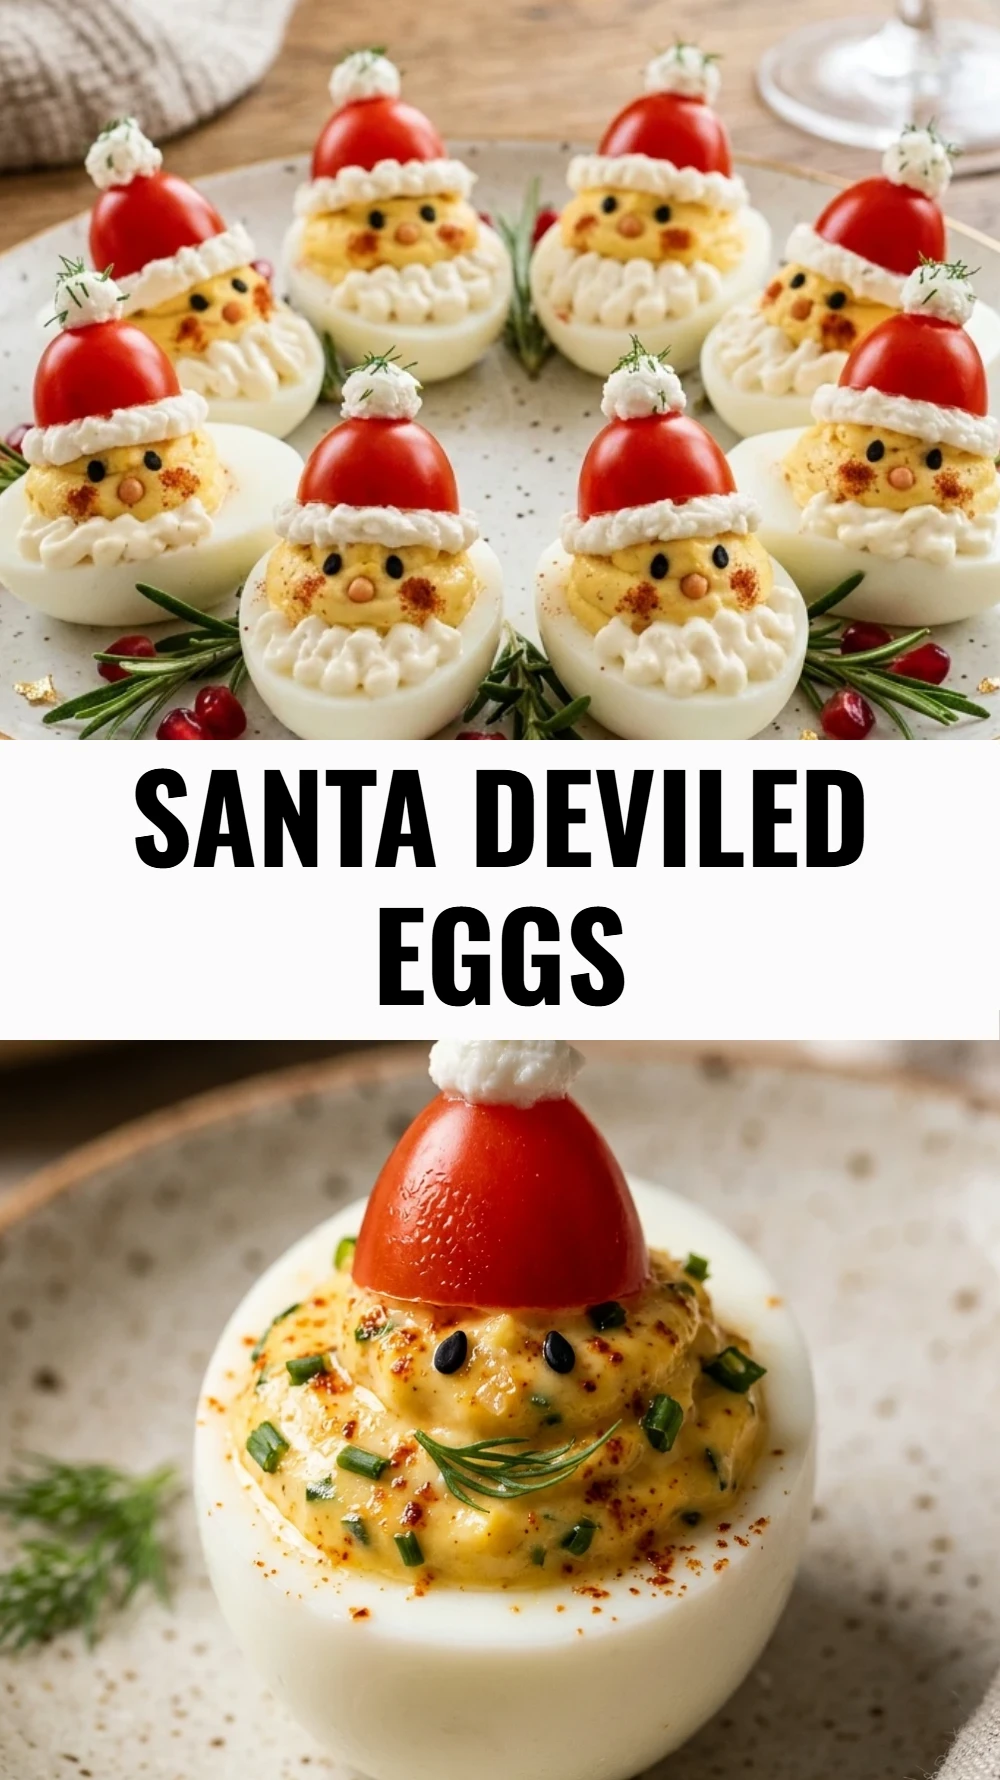
I love how the holiday season brings out the creativity in my kitchen, especially when it comes to festive appetizers. These Santa Deviled Eggs are always the star of my Christmas spread because they look so jolly and taste even better. I enjoy seeing the smiles on my guests’ faces when they spot these tiny edible Santas lined up on a platter, and they truly make the snack table feel magical.
Recipe Details
Recipe Information
- Prep Time: 25 minutes
- Cook Time: 10 minutes
- Total Time: 35 minutes
- Servings: 12 servings
- Difficulty: Easy
Nutrition Information (Per Serving)
- Calories: 85 kcal
- Protein: 6 g
- Carbs: 2 g
- Fat: 6 g
Why You’ll Love This Santa Deviled Eggs
You will absolutely adore this recipe because it combines a classic, crowd pleasing appetizer with a whimsical holiday twist. It is an incredible way to brighten up your Christmas dinner or holiday party without needing complicated tools or expensive ingredients. The creamy yolk filling paired with the fresh snap of a tomato hat creates a perfect balance of flavors and textures. Plus, it is a fun activity to do with family members who want to help decorate the holiday table.
Santa Deviled Eggs Ingredients & Substitutions
- 6 large eggs
- 3 tablespoons mayonnaise
- 1 teaspoon yellow mustard
- 1/4 teaspoon salt
- 1/8 teaspoon ground black pepper
- 12 cherry tomatoes
- 2 tablespoons softened cream cheese
- 24 tiny pieces of black olives
- 12 small pieces of fresh parsley or chives for garnish
If you prefer a lighter version, you can substitute the mayonnaise with plain Greek yogurt or mashed avocado for the filling. If cherry tomatoes are not available, small pieces of red bell pepper cut into triangles can serve as festive hats. For the eyes, if you do not have black olives, you can use peppercorns or even tiny dots of balsamic glaze applied with a toothpick, and the cream cheese can be swapped for a thick dollop of Greek yogurt or a small amount of extra yolk filling for the pom-pom and beard.
Step-by-Step Instructions to Make Santa Deviled Eggs
Step 1: Hard Boil the Eggs
Place your eggs in a single layer in a saucepan and cover them with at least an inch of water. Bring the water to a boil, then immediately remove from the heat, cover the pan, and let them sit for 10 to 12 minutes. Transfer the eggs to an ice bath for 5 minutes before peeling them carefully to keep the whites smooth and intact.
Step 2: Prepare the Egg Bases
Once peeled, cut a very thin slice off the bottom of each egg so they can stand upright on a plate. Slice off the top third of the egg and gently scoop out the yolks into a medium bowl. Set the hollowed out egg whites aside, as these will form the body of your Santa.
Step 3: Mix the Filling
Mash the egg yolks with a fork until they are fine and crumbly. Add the mayonnaise, yellow mustard, salt, and pepper to the bowl. Stir everything together until the mixture is smooth and creamy. If you want a very professional look, you can use a hand mixer to get the filling extra fluffy.
Step 4: Fill the Santa Bodies
Spoon the yolk mixture back into the large bottom portion of the egg whites. You can use a piping bag with a round tip to create a neat, rounded mound that sticks out above the rim of the egg white. This rounded part will serve as Santa’s face.
Step 5: Assemble the Hats and Faces
Slice the bottom end off each cherry tomato to create a small red cap. Place one tomato cap on top of each mound of yolk filling. Use a toothpick to place two tiny pieces of black olives onto the yolk to create eyes. Then, use a small piping bag or a toothpick to add dots of cream cheese around the base of the tomato for the fur trim and one dot on top for the pom-pom.
Step 6: Add Final Details
Add a small dab of cream cheese below the eyes to create a beard if desired. Place your completed Santa Deviled Eggs on a serving platter and garnish with fresh parsley or chives to represent holiday greenery. Serve immediately or chill until your guests arrive.
Tips for Success
To ensure your eggs peel perfectly, use eggs that have been in the fridge for a few days rather than brand new ones. Cooling them completely in an ice bath is also essential for a clean peel. When decorating the faces, use a toothpick for precision, as the olive eyes and cream cheese dots are quite small. If your eggs are still a bit wobbly, a tiny dot of mayonnaise or cream cheese on the bottom of the egg can help glue them to the serving platter.
Variations of Santa Deviled Eggs
You can spice up the filling by adding a pinch of smoked paprika or a dash of hot sauce for those who like a little kick. For a different look, use small pieces of turkey bacon to create a belt for Santa around the middle of the egg white. You could also mix finely chopped pickles or celery into the yolk mixture for added crunch, just ensure they are chopped very finely so they do not clog your piping bag.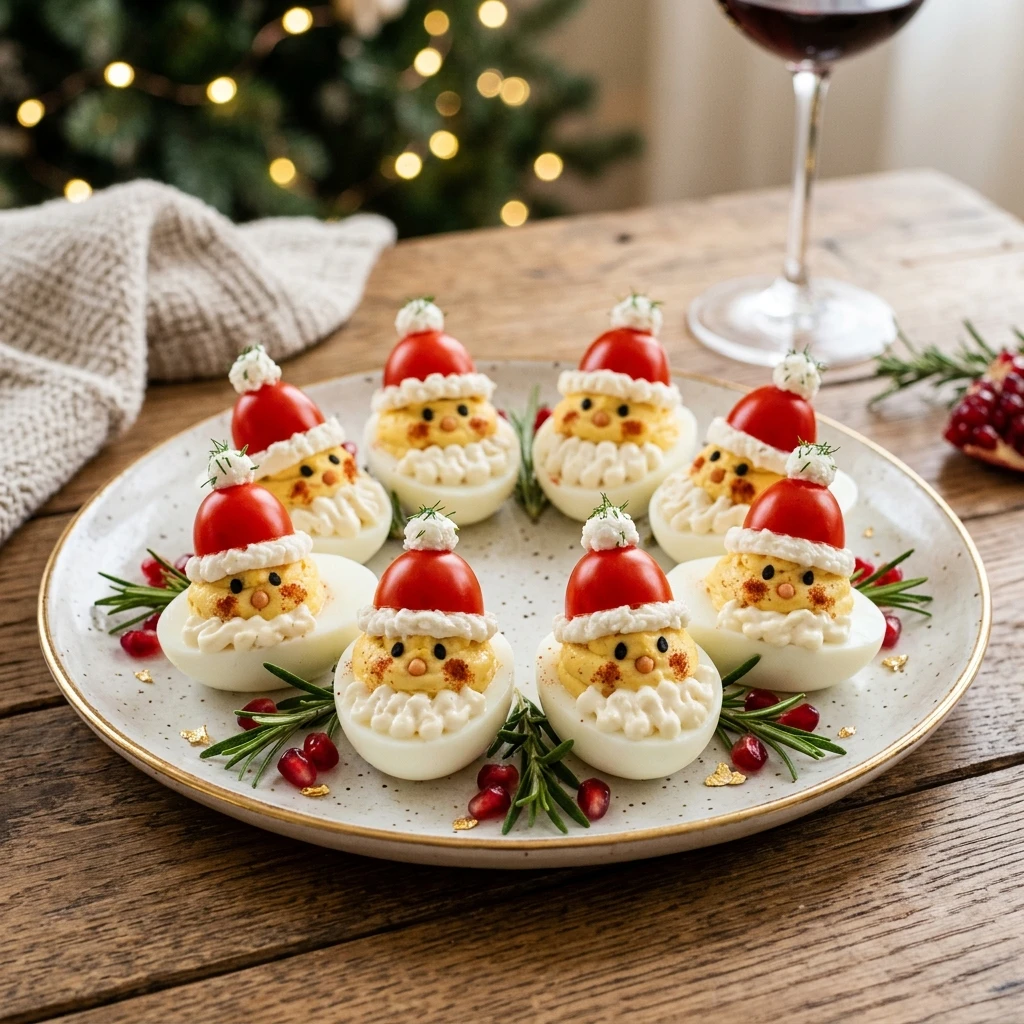
Serving Suggestions: What to Pair with Santa Deviled Eggs
These festive eggs pair beautifully with other holiday finger foods like toasted crostini topped with cranberry and goat cheese. They also make a great side for a Christmas brunch alongside a warm vegetable quiche or smoked salmon. If you are serving these at a dinner party, they act as a light and whimsical appetizer before a main course of roasted turkey or a glazed holiday roast.
Storage & Reheating Instructions
Deviled eggs are best enjoyed the day they are made to ensure the whites stay firm and the filling remains fresh. If you have leftovers, store them in an airtight container in the refrigerator for up to two days. Note that the tomato hats may release some moisture over time, so you might need to blot them with a paper towel. Do not freeze these eggs, as the texture of the whites will become rubbery and unpleasant upon thawing.
Memories Made Around the Table
I remember one specific Christmas Eve when the power went out just as I was finishing these eggs. We ended up eating our holiday spread by candlelight, and the little Santa faces looked even more charming in the flickering glow. My nephews spent the whole evening trying to see who could eat the hat first without tipping over the Santa. It is those simple, joyful moments that make the effort of creating festive food so worthwhile, and these eggs have become a requested tradition every year since.
FAQs
Can I make these Santa Deviled Eggs a day in advance?
You can boil and peel the eggs and prepare the filling a day in advance. However, I recommend assembling the actual Santa figures and adding the tomato hats no more than a few hours before serving. This prevents the filling from drying out and keeps the tomato from making the eggs watery.
How do I make the Santa eyes stay in place?
The moisture from the yolk filling usually holds the olive pieces in place quite well. If you are having trouble, you can use a tiny dot of mayonnaise as a glue to secure the olive eyes onto the yolk face.
What can I use if I do not have a piping bag?
A simple plastic sandwich bag works perfectly. Just fill the bag with the yolk mixture, squeeze it toward one corner, and snip a small hole in the tip. This gives you plenty of control for filling the eggs and adding the cream cheese details.
Are these eggs safe to leave out during a party?
Like all egg and mayonnaise based dishes, you should not leave these out at room temperature for more than two hours. If your party lasts longer, it is best to keep half the batch in the fridge and replenish the platter as needed.
Can I use something other than cream cheese for the white trim?
Yes, you can use a very thick Greek yogurt or even a bit of the yolk filling if you have extra. Some people also use a tiny bit of sour cream, though it can be a bit runnier, so make sure it is chilled well before piping.
Final Thoughts
Santa Deviled Eggs are a wonderful way to bring a touch of holiday cheer to your dining table. They are simple to prepare, visually stunning, and offer a delicious twist on a classic favorite that guests of all ages will enjoy. Whether you are hosting a large party or a quiet family dinner, these little Santas are sure to make your Christmas celebration feel even more special. Happy holidays and happy cooking!
Santa Deviled Eggs
- Total Time: 35 minutes
Ingredients
- 6 large eggs
- 3 tablespoons mayonnaise
- 1 teaspoon yellow mustard
- 1/4 teaspoon salt
- 1/8 teaspoon ground black pepper
- 12 cherry tomatoes
- 2 tablespoons softened cream cheese
- 24 tiny pieces of black olives
- 12 small pieces of fresh parsley or chives for garnish
Instructions
- Place your eggs in a single layer in a saucepan and cover them with at least an inch of water. Bring the water to a boil, then immediately remove from the heat, cover the pan, and let them sit for 10 to 12 minutes. Transfer the eggs to an ice bath for 5 minutes before peeling them carefully to keep the whites smooth and intact.
- Once peeled, cut a very thin slice off the bottom of each egg so they can stand upright on a plate. Slice off the top third of the egg and gently scoop out the yolks into a medium bowl. Set the hollowed out egg whites aside, as these will form the body of your Santa.
- Mash the egg yolks with a fork until they are fine and crumbly. Add the mayonnaise, yellow mustard, salt, and pepper to the bowl. Stir everything together until the mixture is smooth and creamy. If you want a very professional look, you can use a hand mixer to get the filling extra fluffy.
- Spoon the yolk mixture back into the large bottom portion of the egg whites. You can use a piping bag with a round tip to create a neat, rounded mound that sticks out above the rim of the egg white. This rounded part will serve as Santa’s face.
- Slice the bottom end off each cherry tomato to create a small red cap. Place one tomato cap on top of each mound of yolk filling. Use a toothpick to place two tiny pieces of black olives onto the yolk to create eyes. Then, use a small piping bag or a toothpick to add dots of cream cheese around the base of the tomato for the fur trim and one dot on top for the pom-pom.
- Add a small dab of cream cheese below the eyes to create a beard if desired. Place your completed Santa Deviled Eggs on a serving platter and garnish with fresh parsley or chives to represent holiday greenery. Serve immediately or chill until your guests arrive.
- Cook Time: 35 minutes
- Diet: Low-Carb, Gluten-Free, Keto, Vegetarian