
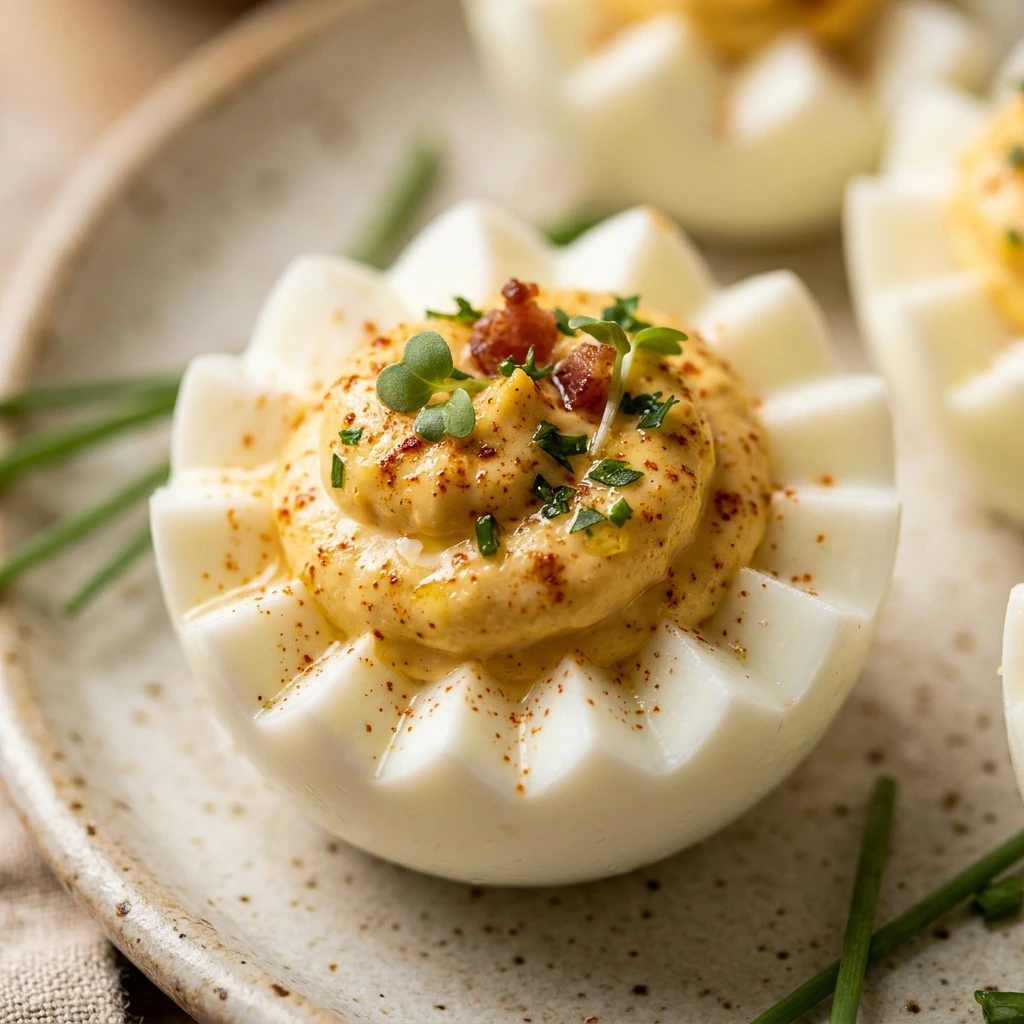
I love finding creative ways to make holiday meals feel extra special without spending hours in the kitchen. These Flower Shaped Deviled Eggs are a darling addition to any Valentine’s Day brunch, bringing a touch of romance and whimsy to your plate. I first made these for a cozy morning celebration at home, and the smile they brought to the table made them an instant favorite for our annual traditions.
Recipe Details
Recipe Information
- Prep Time: 15 minutes
- Cook Time: 10 minutes
- Total Time: 25 minutes
- Servings: 6 servings
- Difficulty: Easy
Nutrition Information (Per Serving)
- Calories: 110
- Protein: 6g
- Carbs: 1g
- Fat: 9g
Why You’ll Love Flower Shaped Deviled Eggs
These eggs are the perfect blend of a classic comfort food and a beautiful presentation. They transform a simple snack into a festive Valentine’s Day centerpiece that looks much more complicated than it actually is. The creamy filling paired with fresh vegetable accents makes for a refreshing bite that feels both light and indulgent. Plus, they are incredibly easy to customize with different herbs and spices to suit your personal preferences.
Flower Shaped Deviled Eggs Ingredients & Substitutions
- 6 large eggs
- 3 tablespoons mayonnaise
- 1 teaspoon yellow mustard
- 1/4 teaspoon salt
- 1/8 teaspoon black pepper
- 1/2 teaspoon paprika (for garnish)
- 1 small bunch of fresh chives
- 1 small cucumber or radish
If you prefer a tangier filling, you can substitute the yellow mustard with Dijon mustard or a small splash of pickle juice. For a lighter version, plain Greek yogurt works well in place of half the mayonnaise. If you do not have chives for the flower stems, thin strips of green bell pepper or scallion greens serve as a wonderful alternative to maintain that garden fresh aesthetic.
Step-by-Step Instructions to Make Flower Shaped Deviled Eggs
Step 1: Boil the Eggs
Place your eggs in a single layer in a saucepan and cover them with at least an inch of water. Bring the water to a rolling boil, then remove from heat, cover the pan, and let them sit for exactly 10 minutes. Immediately transfer the eggs to an ice bath for 5 minutes to ensure they are easy to peel and the yolks remain bright yellow.
Step 2: Prepare the Whites
Gently peel the cooled eggs. To create the flower shape, slice the eggs crosswise into thick rounds rather than the traditional lengthwise cut. Carefully remove the yolk centers from each slice and set them aside in a small bowl. Arrange the circular white rings on your serving platter to act as the base for your floral design.
Step 3: Mix the Creamy Filling
In the bowl with the egg yolks, add the mayonnaise, mustard, salt, and pepper. Use a fork to mash the yolks until they are completely smooth and the mixture is well combined. For an even silkier texture, you can push the yolks through a fine mesh sieve before mixing in the other ingredients.
Step 4: Pipe the Centers
Transfer the yolk mixture into a piping bag fitted with a star tip or a simple plastic bag with the corner snipped off. Carefully pipe a generous dollop of the mixture into the center of each egg white ring. This yellow center represents the middle of your flower.
Step 5: Decorate the Plate
Place a long chive at the bottom of each egg to represent a stem. Slice your cucumber or radish into thin half-moons and arrange them around the chive “stem” to look like leaves. Sprinkle a tiny pinch of paprika over the yolk centers for a pop of color and a hint of warmth.
Tips for Success
To get the perfect peel every time, try using eggs that have been in your refrigerator for about a week rather than farm fresh ones. Older eggs have a slightly higher pH, which helps the membrane pull away from the shell more easily. When slicing the eggs, use a very sharp knife and wipe it clean between each cut to keep the whites looking pristine. If you want the yolks to be extra vibrant for Valentine’s Day, ensure you do not overcook them, as this prevents the gray ring from forming around the center.
Variations of Flower Shaped Deviled Eggs
You can easily adapt this recipe to fit different flavor profiles. For a smoky twist, add a dash of smoked paprika or finely chopped turkey bacon to the filling. If you like a bit of heat, a teaspoon of finely minced jalapeño or a drop of hot sauce mixed into the yolks adds a nice kick. To lean further into the floral theme, you can use small bits of parsley or cilantro as additional foliage around the base of your egg flowers.
Serving Suggestions: What to Pair with Flower Shaped Deviled Eggs
These eggs are a fantastic appetizer for a Valentine’s Day lunch or brunch. They pair beautifully with a fresh arugula salad dressed in a light lemon vinaigrette. For a more filling meal, serve them alongside heart shaped toast points or a savory vegetable quiche. If you are hosting a romantic morning meal, a glass of sparkling grape juice with a splash of orange juice makes for a refreshing and festive beverage pairing.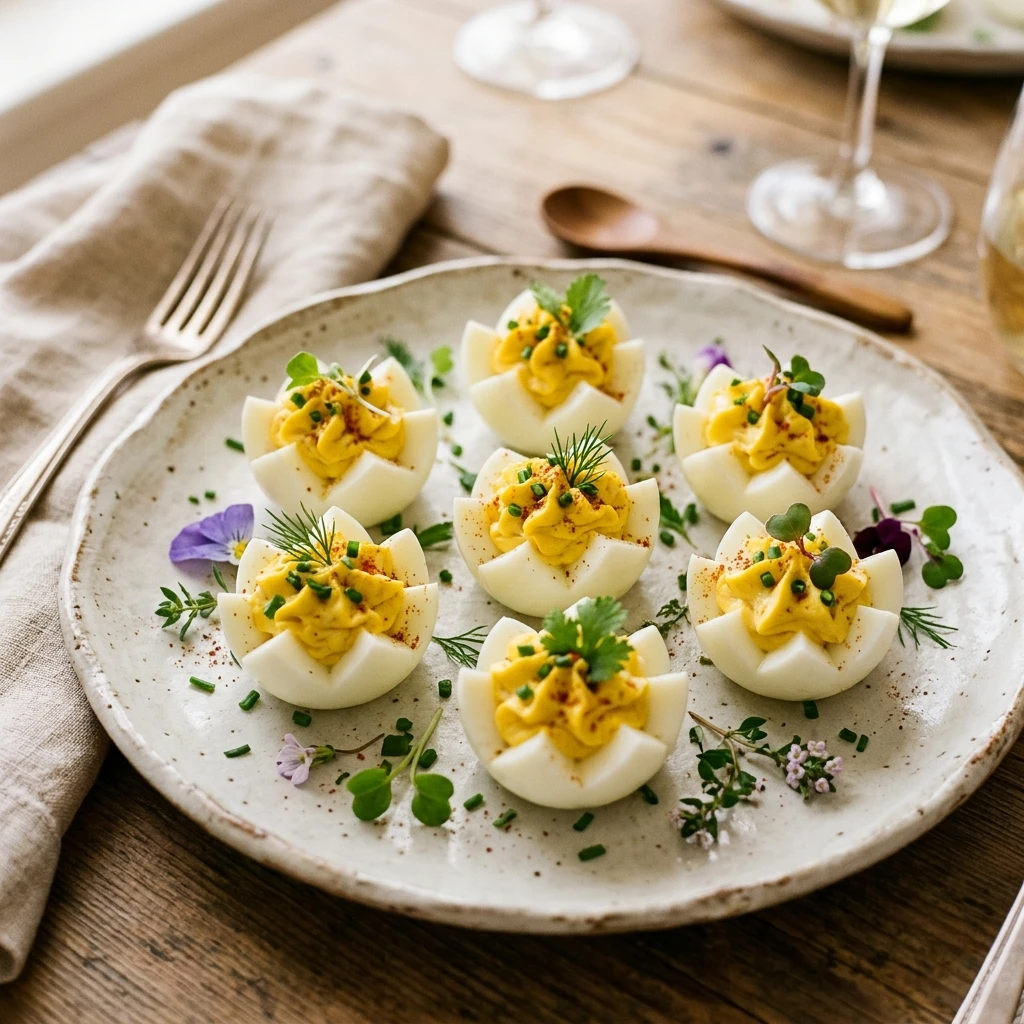
Storage & Reheating Instructions
Deviled eggs are best enjoyed the day they are made, but you can store them in the refrigerator for up to two days. Keep them in an airtight container to prevent them from absorbing other odors in the fridge. It is best to wait to add the decorative chive stems and vegetable leaves until just before serving so they stay crisp and fresh. This dish should always be served cold and does not require any reheating.
Memories Made Around the Table
I remember the first time I set these out on our Valentine’s Day breakfast table. My family was so surprised to see “flowers” on their plates instead of the usual scrambled eggs. It sparked a conversation about how a little bit of creativity can make any ordinary morning feel like a grand celebration. We spent the whole meal laughing and enjoying each other’s company, proving that it is often the small details that create the most lasting memories.
FAQs
Can I make Flower Shaped Deviled Eggs a day in advance?
Yes, you can boil and peel the eggs and prepare the filling a day ahead. I recommend storing the whites and the yolk mixture separately in airtight containers. Fill the eggs and add the decorative stems and leaves just before you plan to serve them for the best presentation and flavor.
How do I prevent the eggs from sliding on the platter?
A great trick is to place a small tiny dab of the yolk mixture on the bottom of each egg white slice before placing it on the plate. This acts as a “glue” to keep your floral arrangement perfectly in place while you move the platter to the table.
What if I do not have a piping bag?
You do not need fancy equipment to make these look beautiful. A sturdy sandwich bag with a small hole cut in one corner works perfectly. You can also use two small spoons to carefully dollop the filling into the centers for a more rustic, textured look.
How can I make the yolks look more yellow?
The key to a bright yellow yolk is avoiding overcooking. Stick to the 10-minute timer and the immediate ice bath. If you want an even more intense color, a tiny pinch of turmeric added to the filling mixture will brighten the yellow without significantly changing the flavor.
Can I use different vegetables for the leaves?
Absolutely. While cucumber and radish are common choices, you can also use small spinach leaves, flat-leaf parsley, or even thin slices of avocado. Choose whatever green vegetable you have on hand that provides a nice contrast to the white and yellow of the eggs.
Final Thoughts
Flower Shaped Deviled Eggs are a simple yet stunning way to celebrate love and friendship on Valentine’s Day. Their charming appearance and classic taste make them a hit with both kids and adults alike. Whether you are hosting a large brunch or a quiet breakfast for two, these edible blossoms are sure to brighten your table and bring joy to your holiday celebration.
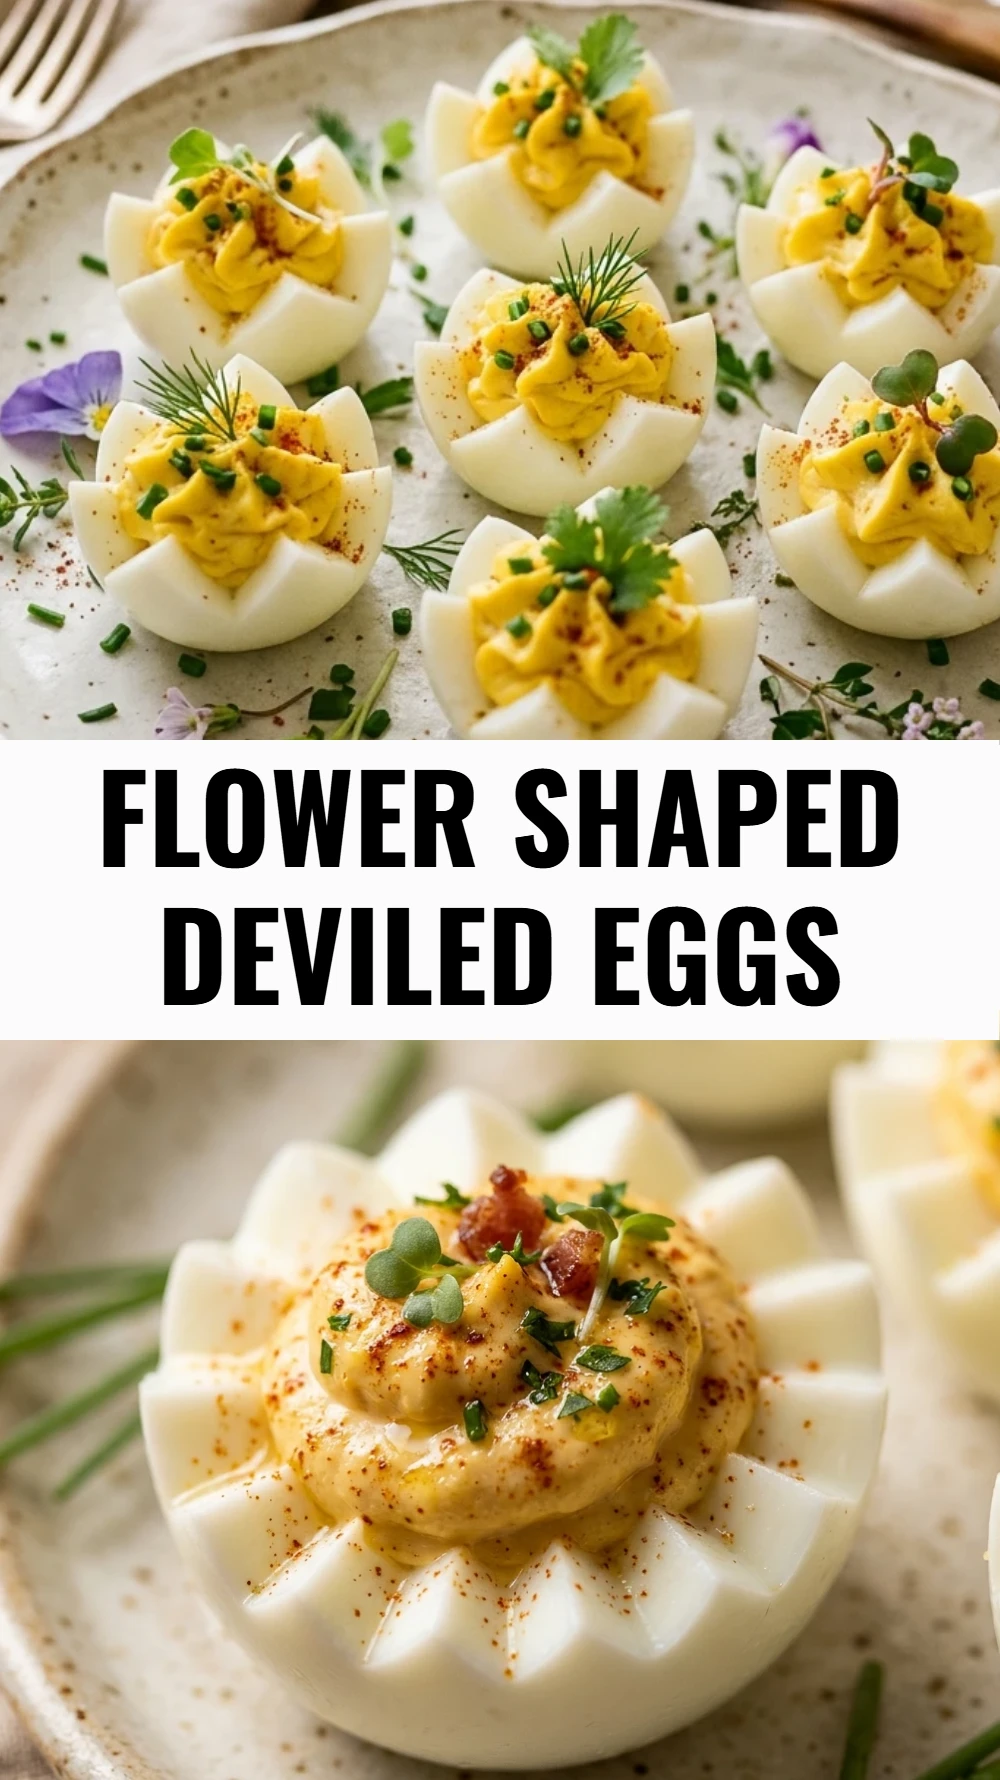
Flower Shaped Deviled Eggs
- Total Time: 25 minutes
Ingredients
- 6 large eggs
- 3 tablespoons mayonnaise
- 1 teaspoon yellow mustard
- 1/4 teaspoon salt
- 1/8 teaspoon black pepper
- 1/2 teaspoon paprika (for garnish)
- 1 small bunch of fresh chives
- 1 small cucumber or radish
Instructions
- Step 1: Boil the Eggs. Place your eggs in a single layer in a saucepan and cover them with at least an inch of water. Bring the water to a rolling boil, then remove from heat, cover the pan, and let them sit for exactly 10 minutes. Immediately transfer the eggs to an ice bath for 5 minutes to ensure they are easy to peel and the yolks remain bright yellow.
- Step 2: Prepare the Whites. Gently peel the cooled eggs. To create the flower shape, slice the eggs crosswise into thick rounds rather than the traditional lengthwise cut. Carefully remove the yolk centers from each slice and set them aside in a small bowl. Arrange the circular white rings on your serving platter to act as the base for your floral design.
- Step 3: Mix the Creamy Filling. In the bowl with the egg yolks, add the mayonnaise, mustard, salt, and pepper. Use a fork to mash the yolks until they are completely smooth and the mixture is well combined. For an even silkier texture, you can push the yolks through a fine mesh sieve before mixing in the other ingredients.
- Step 4: Pipe the Centers. Transfer the yolk mixture into a piping bag fitted with a star tip or a simple plastic bag with the corner snipped off. Carefully pipe a generous dollop of the mixture into the center of each egg white ring. This yellow center represents the middle of your flower.
- Step 5: Decorate the Plate. Place a long chive at the bottom of each egg to represent a stem. Slice your cucumber or radish into thin half-moons and arrange them around the chive “stem” to look like leaves. Sprinkle a tiny pinch of paprika over the yolk centers for a pop of color and a hint of warmth.
- Cook Time: 25 minutes
- Diet: Vegetarian, Gluten-Free, Keto, Low-Carb