
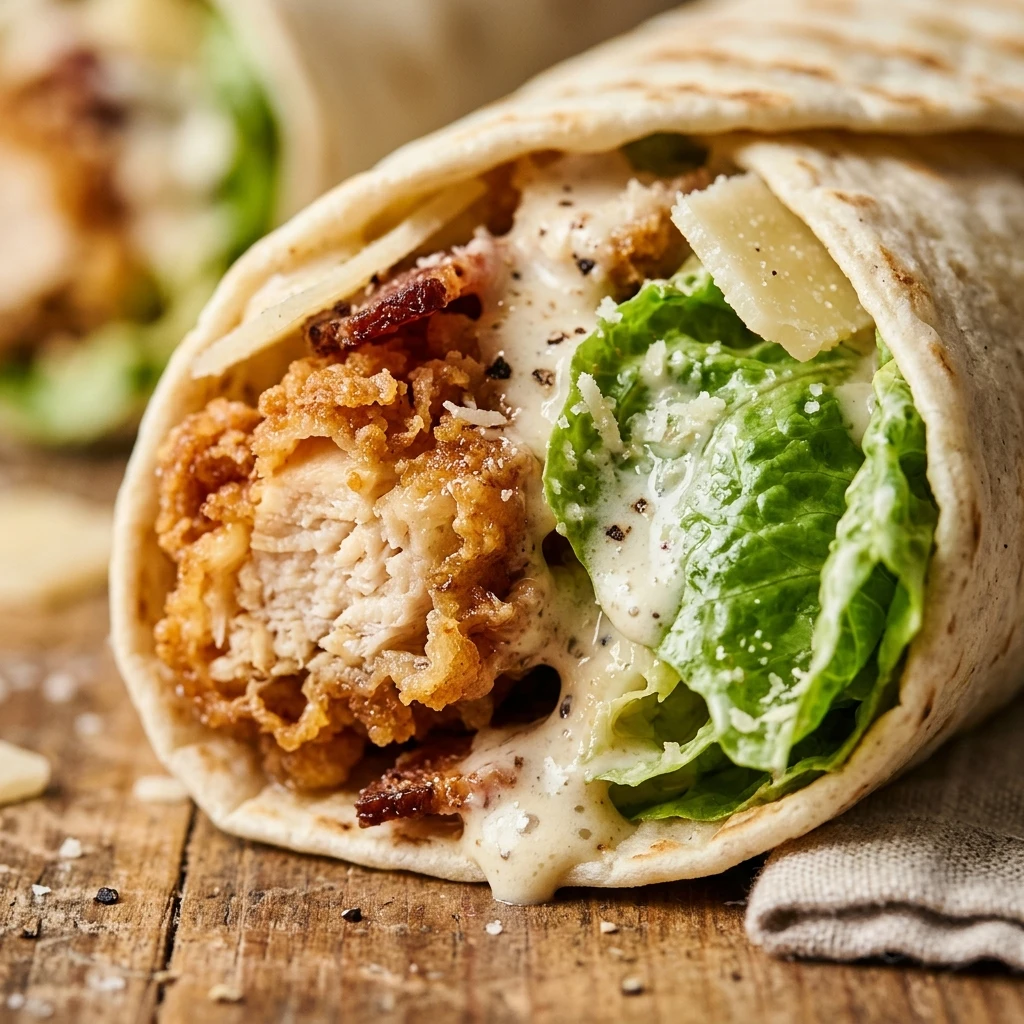
I always look forward to a simple yet satisfying chicken dinner that comes together in under thirty minutes. These Crispy Chicken Caesar Wraps are my absolute go-to when I want something fresh, crunchy, and incredibly easy to handle on a busy weeknight. I first started making these for my family during summer picnics, and they quickly became a staple for every season because they are just so delicious and satisfying.
Recipe Details
Recipe Information
- Prep Time: 15 minutes
- Cook Time: 15 minutes
- Total Time: 30 minutes
- Servings: 4 servings
- Difficulty: Easy
Nutrition Information (Per Serving)
- Calories: 480 calories
- Protein: 28 grams
- Carbs: 42 grams
- Fat: 22 grams
Why You’ll Love This Crispy Chicken Caesar Wraps
This meal strikes the perfect balance between comfort food and a fresh salad. The contrast between the warm, golden chicken and the cold, crisp romaine lettuce wrapped in a soft tortilla is truly addictive. It is a fantastic way to upgrade a standard chicken dinner into something portable and fun for both kids and adults. Plus, you can easily customize the ingredients to suit whatever you have in your pantry or fridge at the moment.
Crispy Chicken Caesar Wraps Ingredients & Substitutions
- 1 pound chicken breast, cut into strips
- 1 cup panko breadcrumbs
- 1/2 cup all-purpose flour
- 2 large eggs, beaten
- 1/2 cup Caesar dressing
- 1/4 cup grated parmesan cheese
- 3 cups romaine lettuce, chopped
- 4 large flour tortillas
- 2 tablespoons vegetable oil for frying
- 1/2 teaspoon garlic powder
- 1/2 teaspoon salt
- 1/4 teaspoon black pepper
- 1/2 cup cooked turkey bacon, crumbled
If you are in a rush, you can substitute the homemade breaded chicken with store-bought frozen chicken tenders or even rotisserie chicken for a non-crispy version. For those who want more fiber, whole grain or spinach tortillas are excellent alternatives to standard white flour wraps. If you do not have Caesar dressing on hand, a mixture of Greek yogurt, lemon juice, garlic, and a splash of alcohol-free Worcestershire sauce can create a quick and tangy substitute.
Step-by-Step Instructions to Make Crispy Chicken Caesar Wraps
Step 1: Prepare the Chicken Breading Station
Set out three shallow bowls to create a breading station. In the first bowl, mix the flour with salt, pepper, and garlic powder. In the second bowl, place the beaten eggs. In the third bowl, add the panko breadcrumbs. This organized setup makes the coating process much smoother and less messy.
Step 2: Coat the Chicken
Dip each chicken strip into the seasoned flour, shaking off any excess. Next, dip the chicken into the egg wash until fully submerged, and finally press it firmly into the panko breadcrumbs until every side is well coated. Repeat this process until all chicken pieces are ready for cooking.
Step 3: Cook the Crispy Chicken
Heat the vegetable oil in a large skillet over medium heat. Once the oil is shimmering, carefully add the chicken strips in a single layer. Cook for about 4 to 5 minutes per side until the coating is deep golden brown and the internal temperature of the chicken reaches 165 degrees Fahrenheit. Remove the chicken and let it rest on a wire rack to maintain its crunch.
Step 4: Toss the Caesar Salad
In a large mixing bowl, combine the chopped romaine lettuce, parmesan cheese, and turkey bacon crumbles. Drizzle the Caesar dressing over the mixture and toss everything together until the leaves are evenly coated. Adding the dressing just before assembly ensures the lettuce stays crisp and the wrap does not become soggy.
Step 5: Assemble the Wraps
Lay a tortilla flat on a clean surface. Place a generous handful of the dressed salad in the center of the tortilla and top it with 2 or 3 strips of the warm crispy chicken. Fold in the sides of the tortilla and roll it up tightly from the bottom to create a secure wrap.
Step 6: Optional Searing
For an extra touch of flavor and texture, you can place the assembled wraps seam-side down in a dry skillet over medium heat for 1 minute. This helps seal the wrap shut and gives the exterior a light, toasted crunch.
Tips for Success
To ensure your wraps stay crispy, make sure the chicken has rested for a few minutes before adding it to the wrap so the steam doesn’t wilt the lettuce. Always use fresh romaine hearts because they provide the best crunch compared to softer greens. If you are packing these for lunch, store the chicken and the dressed salad separately and assemble them right before you eat to prevent the tortilla from getting soft.
Variations of Crispy Chicken Caesar Wraps
You can easily spice things up by adding a teaspoon of chili flakes to the breadcrumb mixture or drizzling some hot sauce inside the wrap for a Buffalo-style twist. For a Mediterranean flair, add some sun-dried tomatoes and black olives to the salad mix. If you want a lighter version, you can air-fry the chicken at 400 degrees Fahrenheit for 12 minutes instead of pan-frying it in oil.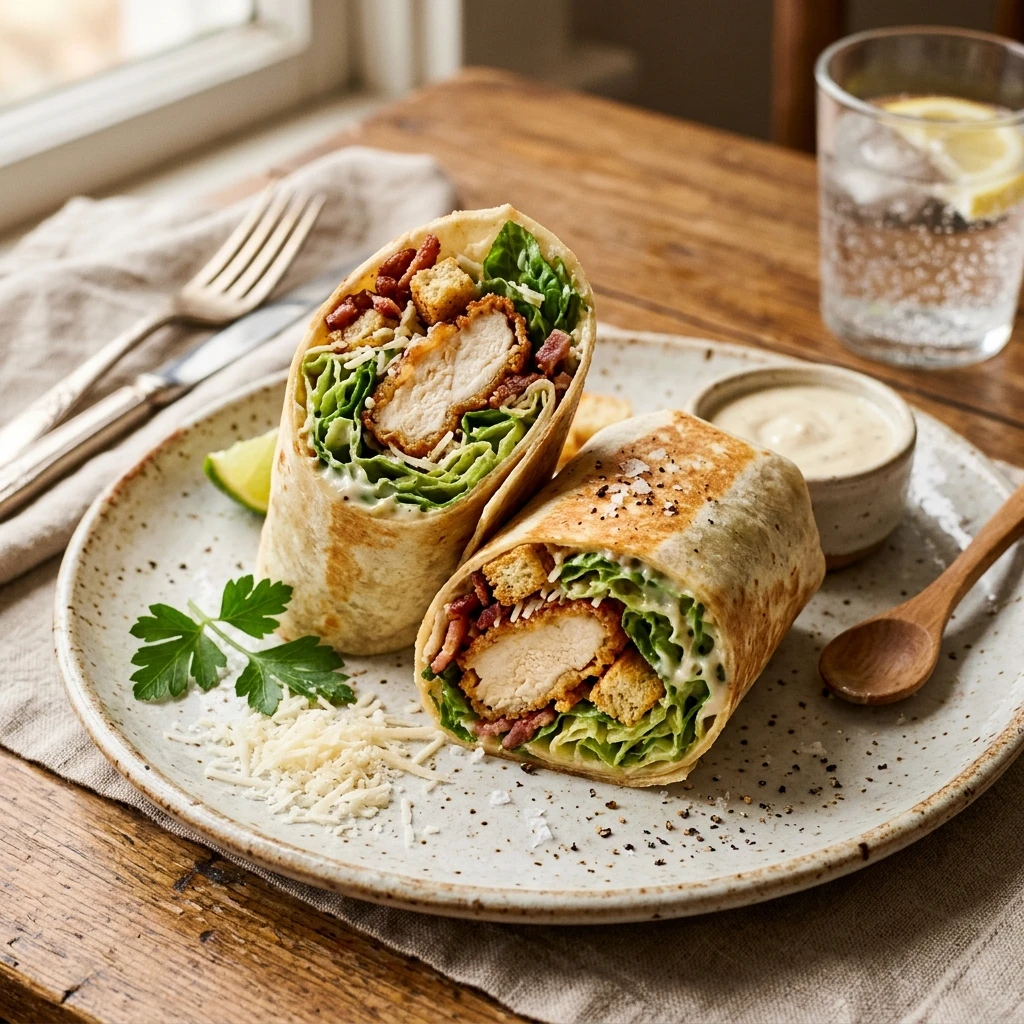
Serving Suggestions: What to Pair with Crispy Chicken Caesar Wraps
These wraps are quite filling on their own, but they pair wonderfully with a side of sweet potato fries or a simple fruit salad. For a more traditional chicken dinner feel, serve them alongside a warm bowl of tomato soup or a small side of pasta salad. A crisp glass of sparkling apple juice or a lemon-infused iced tea also complements the creamy dressing perfectly.
Storage & Reheating Instructions
If you have leftovers, it is best to store the components individually in airtight containers in the refrigerator for up to three days. To reheat the chicken while keeping it crunchy, use a toaster oven or an air fryer at 350 degrees Fahrenheit for about 5 minutes. Avoid reheating the fully assembled wrap in the microwave, as the lettuce will wilt and the tortilla will become chewy.
Memories Made Around the Table
I remember the first time I made these for a Friday night movie marathon with my kids. They were so excited to have “restaurant food” at home, and I loved how little cleanup there was after such a satisfying meal. We sat on the living room floor with our wraps and laughed until our sides ached, making it one of my favorite simple memories from that year.
FAQs
Can I make the chicken in an air fryer?
Yes, the air fryer is a great option for this recipe. Simply spray the breaded chicken strips with a little bit of oil and cook them at 400 degrees Fahrenheit for 10 to 12 minutes, turning them halfway through until they are golden and cooked through.
What is the best way to prevent the wraps from getting soggy?
The best way to prevent sogginess is to ensure your lettuce is very dry after washing it and to apply the dressing sparingly. Also, letting the fried chicken cool slightly before assembly prevents excess steam from trapped inside the tortilla.
Can I use grilled chicken instead of crispy chicken?
Absolutely. If you prefer a lighter or quicker version, you can use seasoned grilled chicken breast strips. This still tastes fantastic with the Caesar dressing and parmesan cheese.
How do I fold the wrap so it stays closed?
Start by placing the filling in the center, leaving plenty of room on the sides. Fold the left and right sides toward the center, then pull the bottom edge over the filling and roll it tightly toward the top. Searing the seam in a pan for a few seconds also helps it stay closed.
Can I make these wraps ahead of time for a lunch box?
If you need to make them ahead, keep the wet ingredients separate. Store the dressed salad in one container and the chicken in another. Wrap the tortilla in foil and assemble the meal right when you are ready to eat for the best texture.
Final Thoughts
This Crispy Chicken Caesar Wraps recipe is the ultimate solution for a quick and flavorful chicken dinner that never disappoints. With its simple ingredients and straightforward preparation, it is a meal that fits perfectly into any busy schedule while still feeling like a special treat. Give this recipe a try the next time you want a fresh, crunchy, and satisfying meal that the whole family will love.

Crispy Chicken Caesar Wraps
- Total Time: 30 minutes
Ingredients
- 1 pound chicken breast, cut into strips
- 1 cup panko breadcrumbs
- 1/2 cup all-purpose flour
- 2 large eggs, beaten
- 1/2 cup Caesar dressing
- 1/4 cup grated parmesan cheese
- 3 cups romaine lettuce, chopped
- 4 large flour tortillas
- 2 tablespoons vegetable oil for frying
- 1/2 teaspoon garlic powder
- 1/2 teaspoon salt
- 1/4 teaspoon black pepper
- 1/2 cup cooked turkey bacon, crumbled
Instructions
- Step 1: Prepare the Chicken Breading Station Set out three shallow bowls to create a breading station. In the first bowl, mix the flour with salt, pepper, and garlic powder. In the second bowl, place the beaten eggs. In the third bowl, add the panko breadcrumbs. This organized setup makes the coating process much smoother and less messy.
- Step 2: Coat the Chicken Dip each chicken strip into the seasoned flour, shaking off any excess. Next, dip the chicken into the egg wash until fully submerged, and finally press it firmly into the panko breadcrumbs until every side is well coated. Repeat this process until all chicken pieces are ready for cooking.
- Step 3: Cook the Crispy Chicken Heat the vegetable oil in a large skillet over medium heat. Once the oil is shimmering, carefully add the chicken strips in a single layer. Cook for about 4 to 5 minutes per side until the coating is deep golden brown and the internal temperature of the chicken reaches 165 degrees Fahrenheit. Remove the chicken and let it rest on a wire rack to maintain its crunch.
- Step 4: Toss the Caesar Salad In a large mixing bowl, combine the chopped romaine lettuce, parmesan cheese, and turkey bacon crumbles. Drizzle the Caesar dressing over the mixture and toss everything together until the leaves are evenly coated. Adding the dressing just before assembly ensures the lettuce stays crisp and the wrap does not become soggy.
- Step 5: Assemble the Wraps Lay a tortilla flat on a clean surface. Place a generous handful of the dressed salad in the center of the tortilla and top it with 2 or 3 strips of the warm crispy chicken. Fold in the sides of the tortilla and roll it up tightly from the bottom to create a secure wrap.
- Step 6: Optional Searing For an extra touch of flavor and texture, you can place the assembled wraps seam-side down in a dry skillet over medium heat for 1 minute. This helps seal the wrap shut and gives the exterior a light, toasted crunch.
- Cook Time: 30 minutes
- Diet: Not specified