
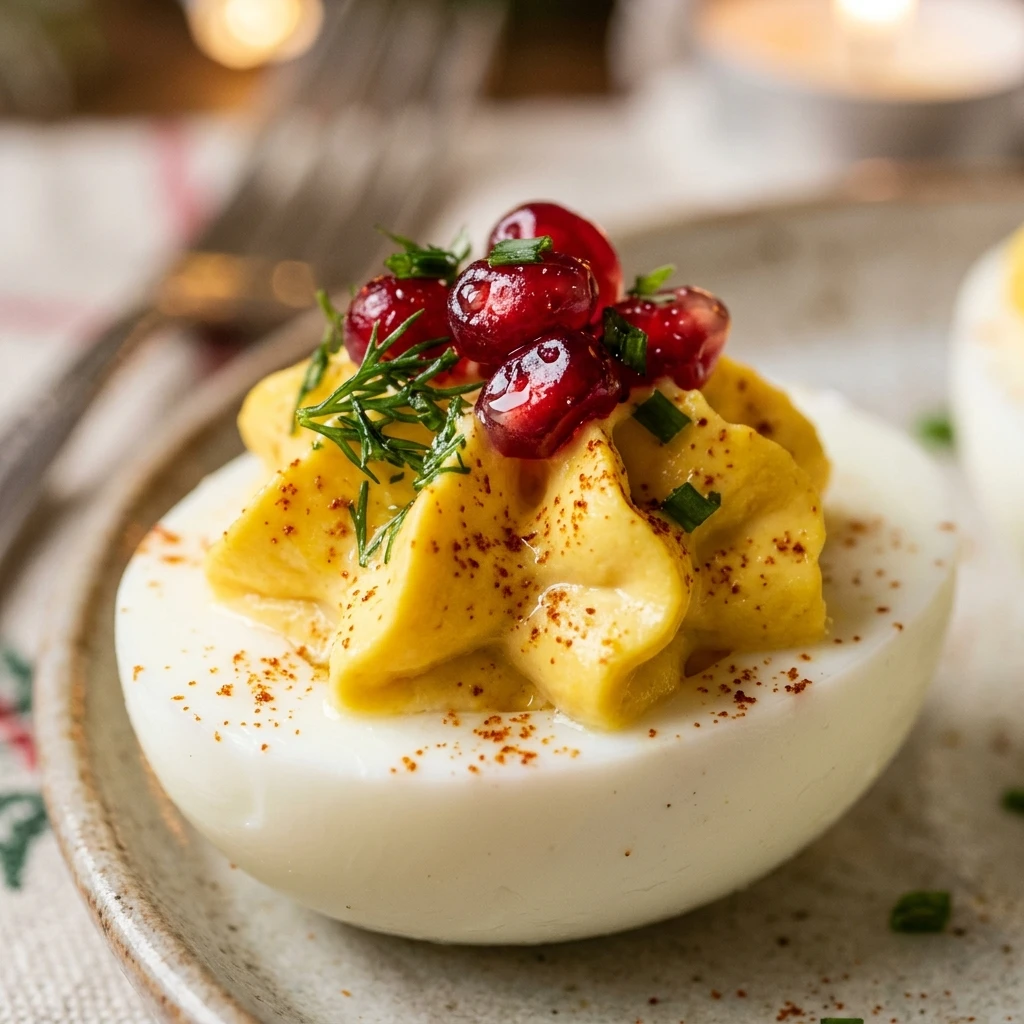
I always look forward to the holiday season because it means I finally get to serve my favorite appetizers to my loved ones. These Christmas Deviled Eggs are a staple at my family gatherings, bringing a pop of festive color and a classic flavor that everyone loves. They are incredibly simple to make, yet they look so elegant on a holiday platter next to the sparkling decorations and festive lights.
Recipe Details
Recipe Information
- Prep Time: 15 minutes
- Cook Time: 10 minutes
- Total Time: 25 minutes
- Servings: 12 pieces
- Difficulty: Easy
Nutrition Information (Per Serving)
- Calories: 75 kcal
- Protein: 4g
- Carbs: 1g
- Fat: 6g
Why You’ll Love This Christmas Deviled Eggs
You will love this recipe because it combines the nostalgic, creamy comfort of traditional deviled eggs with a vibrant holiday twist. It is the perfect crowd-pleaser that requires very little active cooking time, allowing you to spend more moments with your guests. The combination of savory filling and festive garnishes makes them stand out on any appetizer spread, and they are naturally satisfying without being too heavy before a big Christmas dinner.
Christmas Deviled Eggs Ingredients & Substitutions
- 6 large eggs
- 3 tablespoons mayonnaise
- 1 teaspoon Dijon mustard
- 1/2 teaspoon apple cider vinegar
- 1/8 teaspoon salt
- 1/8 teaspoon black pepper
- 1/2 teaspoon smoked paprika
- 2 tablespoons fresh chives, finely chopped
- 2 tablespoons cooked and crumbled turkey bacon
- Small sprigs of fresh parsley for garnish
For a lighter version, you can substitute the mayonnaise with plain Greek yogurt for a similar creamy texture. If you prefer a bit of heat, try adding a dash of hot sauce or a pinch of cayenne pepper to the yolk mixture. To keep the festive look without meat, you can replace the turkey bacon with finely diced red bell peppers which provide a beautiful red color and a nice crunch.
Step-by-Step Instructions to Make Christmas Deviled Eggs
Step 1: Boiling the Eggs
Place your eggs in a single layer in a medium saucepan and cover them with at least an inch of cold water. Bring the water to a full rolling boil over high heat. Once boiling, turn off the heat, cover the pan with a lid, and let the eggs sit in the hot water for exactly 10 to 12 minutes.
Step 2: Cooling and Peeling
While the eggs are sitting, prepare a large bowl with ice and cold water. Once the timer goes off, carefully transfer the eggs to the ice bath using a slotted spoon. Let them cool completely for about 10 minutes, as this helps the shell pull away from the egg. Gently crack the shells and peel them under cool running water.
Step 3: Preparing the Filling
Slice each peeled egg in half lengthwise. Carefully remove the yolks and place them into a small mixing bowl, setting the whites aside on a serving platter. Use a fork to mash the yolks until they are fine and crumbly. Stir in the mayonnaise, mustard, apple cider vinegar, salt, and pepper until the mixture is completely smooth and creamy.
Step 4: Filling the Egg Whites
You can use a small spoon to scoop the filling into the egg white cavities, or for a more professional look, use a piping bag fitted with a large star tip. Pipe the yolk mixture generously into each egg half. If you do not have a piping bag, a plastic storage bag with the corner snipped off works just as well.
Step 5: Adding the Festive Garnishes
To give these eggs their Christmas flair, sprinkle a light dusting of smoked paprika over the top. Garnish with the finely chopped chives and the crumbled turkey bacon to represent green and red holiday colors. For an extra touch of greenery, place a tiny sprig of fresh parsley on the side of the filling before serving.
Tips for Success
For the easiest peeling experience, use eggs that have been in your refrigerator for a few days rather than farm-fresh eggs. Make sure the yolks are mashed very thoroughly before adding the wet ingredients to avoid any lumps in your piping bag. If you want the filling to be extra silky, you can even pass the mashed yolks through a fine-mesh sieve. Always keep the eggs chilled until the very moment you are ready to serve them to maintain their best texture and flavor.
Variations of Christmas Deviled Eggs
You can easily customize this recipe to suit different tastes. For a Pesto version, stir a teaspoon of nut-free basil pesto into the yolk mixture for a deep green color and herbal flavor. For a Spicy Christmas version, top each egg with a thin slice of fresh jalapeño and a drop of sriracha. If you want an Avocado version, swap half of the mayonnaise for ripe mashed avocado, which adds a lovely green hue and extra creaminess.
Serving Suggestions: What to Pair with Christmas Deviled Eggs
These eggs are the perfect companion to a holiday charcuterie board filled with various cheeses, crackers, and olives. They also pair beautifully with a warm bowl of roasted tomato soup or as a side to a honey-glazed turkey or roast chicken. For a full appetizer spread, serve them alongside some toasted crostini topped with cranberry relish and goat cheese to keep the festive flavors flowing.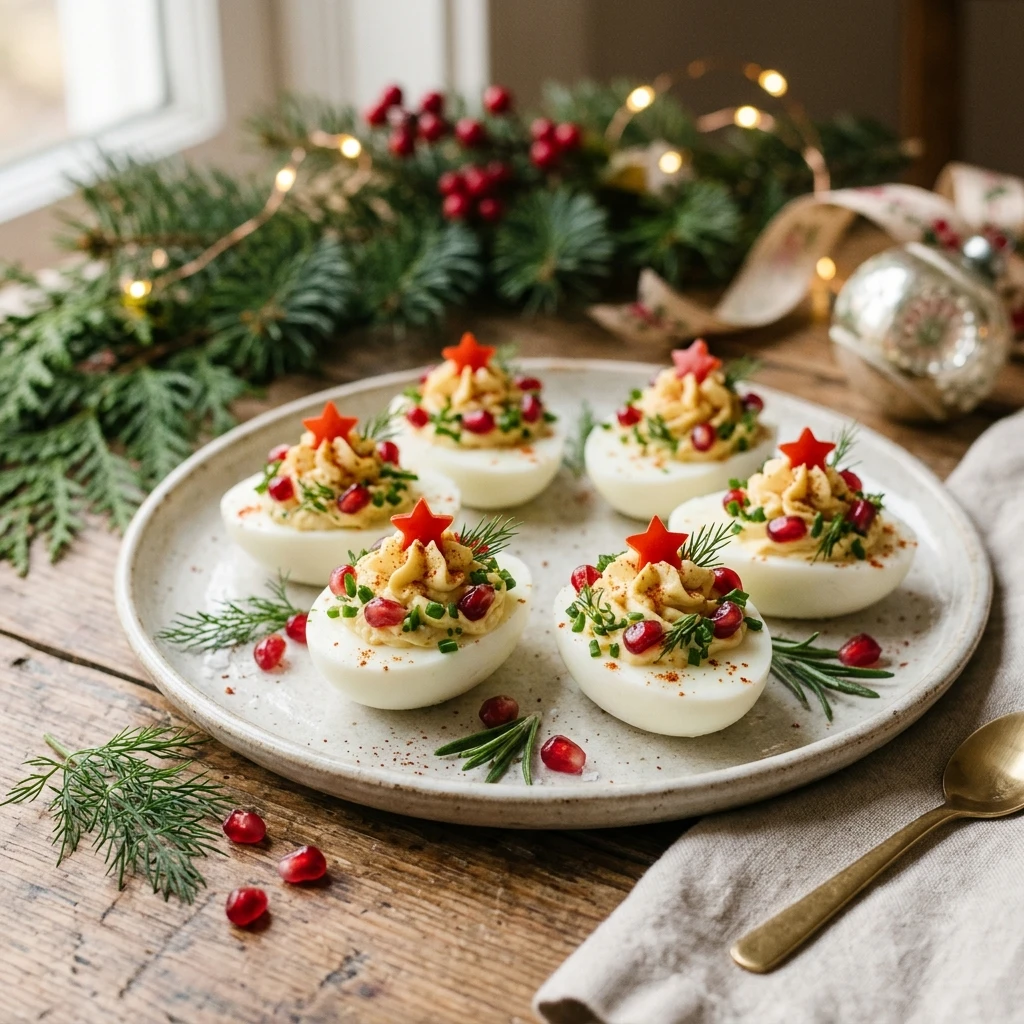
Storage & Reheating Instructions
Deviled eggs are best enjoyed the day they are made, but they can be stored in the refrigerator for up to two days. Keep them in an airtight container to prevent them from absorbing other odors in the fridge. It is not recommended to freeze deviled eggs as the texture of the egg whites will become rubbery and the filling may separate. These are served cold, so no reheating is required.
Memories Made Around the Table
Growing up, my grandmother always had a special ceramic egg plate that only came out during the holidays. I remember sitting at the kitchen counter helping her mash the yolks with a fork while the house smelled of pine and cinnamon. It was our special time together before the rest of the family arrived, and now every time I make these, I feel that same sense of warmth and tradition. Bringing a tray of these to the table always feels like I am sharing a piece of my childhood with my own friends and family today.
FAQs
Can I boil the eggs a day in advance?
Yes, you can absolutely boil and peel the eggs up to 24 hours in advance. Store the peeled whites and the yolk mixture separately in airtight containers in the refrigerator. Assemble them just before your guests arrive to keep everything looking fresh and vibrant.
How do I prevent the eggs from sliding on the platter?
If your eggs are sliding around, you can slice a tiny sliver off the bottom of each egg white half to create a flat surface. This will help them sit securely on your serving plate without tipping over.
What makes the filling look so bright yellow?
The brightness comes from the quality of the yolks and the addition of mustard. If you want an even deeper yellow or orange tint, you can add a tiny pinch of turmeric to the mixture, which adds color without significantly changing the taste.
How can I transport these to a holiday party?
The best way to transport them is to put the egg whites in a single layer in a flat container and carry the filling in a separate piping bag. Once you arrive at your destination, quickly pipe the filling into the eggs and add your garnishes. This ensures they look perfect when they hit the table.
Is it okay to use bottled lemon juice instead of vinegar?
Yes, bottled lemon juice is a great substitute for apple cider vinegar. It provides the necessary acidity to balance the richness of the yolks and mayonnaise, giving the filling a clean and bright finish.
Final Thoughts
Christmas Deviled Eggs are more than just a simple appetizer, they are a festive tradition that brings a touch of nostalgia to the holiday table. With their creamy centers and colorful garnishes, they are sure to be a hit at your next gathering. Whether you are hosting a large party or a quiet family dinner, these easy to make treats are a wonderful way to celebrate the flavors of the season.

Christmas Deviled Eggs
- Total Time: 25 minutes
Ingredients
- 6 large eggs
- 3 tablespoons mayonnaise
- 1 teaspoon Dijon mustard
- 1/2 teaspoon apple cider vinegar
- 1/8 teaspoon salt
- 1/8 teaspoon black pepper
- 1/2 teaspoon smoked paprika
- 2 tablespoons fresh chives, finely chopped
- 2 tablespoons cooked and crumbled turkey bacon
- Small sprigs of fresh parsley for garnish
Instructions
- Place your eggs in a single layer in a medium saucepan and cover them with at least an inch of cold water. Bring the water to a full rolling boil over high heat. Once boiling, turn off the heat, cover the pan with a lid, and let the eggs sit in the hot water for exactly 10 to 12 minutes.
- While the eggs are sitting, prepare a large bowl with ice and cold water. Once the timer goes off, carefully transfer the eggs to the ice bath using a slotted spoon. Let them cool completely for about 10 minutes, as this helps the shell pull away from the egg. Gently crack the shells and peel them under cool running water.
- Slice each peeled egg in half lengthwise. Carefully remove the yolks and place them into a small mixing bowl, setting the whites aside on a serving platter. Use a fork to mash the yolks until they are fine and crumbly. Stir in the mayonnaise, mustard, apple cider vinegar, salt, and pepper until the mixture is completely smooth and creamy.
- You can use a small spoon to scoop the filling into the egg white cavities, or for a more professional look, use a piping bag fitted with a large star tip. Pipe the yolk mixture generously into each egg half. If you do not have a piping bag, a plastic storage bag with the corner snipped off works just as well.
- To give these eggs their Christmas flair, sprinkle a light dusting of smoked paprika over the top. Garnish with the finely chopped chives and the crumbled turkey bacon to represent green and red holiday colors. For an extra touch of greenery, place a tiny sprig of fresh parsley on the side of the filling before serving.
- Cook Time: 25 minutes
- Diet: Gluten-Free, Low-Carb, Keto